The structureTo design the structure of the lamp it was usedSolidwork, a 3D designing software and then the projects were built using a 3Dprinter. To hold the pieces together it was used screws and glue or just by wedging them in.
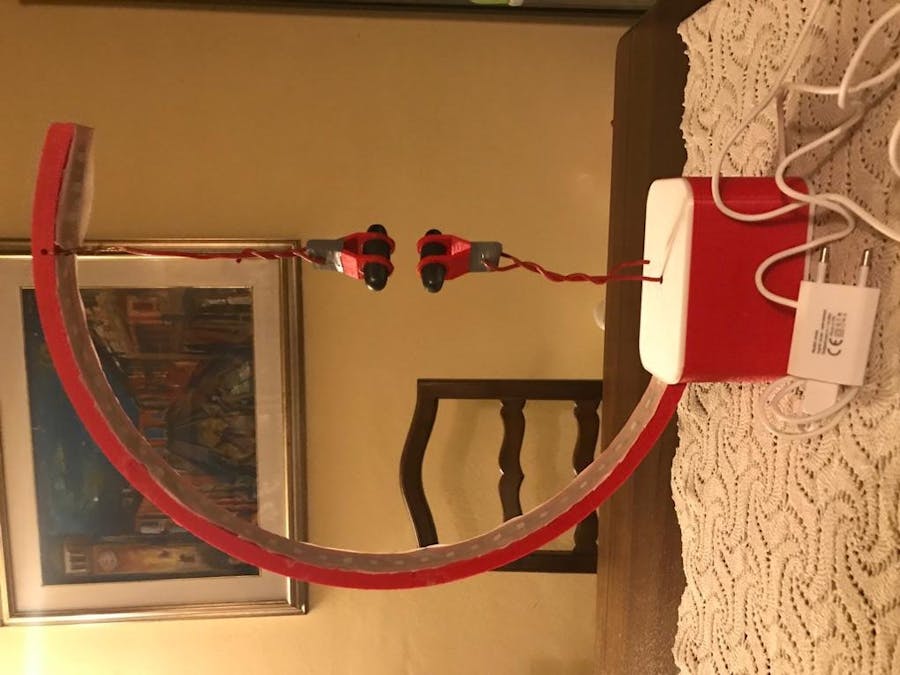
The wiringTo power the lamp it was used a simple cell phonecharger.
The power supply was attached to theleds and to Arduino using Arduino’s cables and some electrical wires.
In the image above it was used a button to reproduce the switch.
The codeThe code that controls the lamp allows the leds to light on one by one every 150 milliseconds. The light produced is orange but you can change thecolour just by writing in the code the level of red, green and blue. If you wantyou can even regulate the brightness of the leds.
The first four lines defines what library is being used, how many ledsand strips are being used and what pin are they attached to.
In the fifth line is where you define the level of brightness of the leds.
In the last Loop section there is the part of the code that tells whatto do to the leds: the strip of leds start lighting on from the bottom to thetop one led at the time with a colouring setted with RGB (Red, Green, Blue)code.


_3u05Tpwasz.png?auto=compress%2Cformat&w=40&h=40&fit=fillmax&bg=fff&dpr=2)
Comments